Plywood is a popular choice in the woodworking industry for its versatility, affordability, and strength. However, the rough, exposed edges of plywood often need finishing to enhance the overall look and feel of the product. This is where edgebanding comes into play. In this article, we will discuss in detail how to edgeband plywood effectively to give your projects a professional, polished appearance.
Edgebanding plywood is more than just an aesthetic improvement. It serves several essential functions in woodworking:
Protection: By covering the raw plywood edge, edgebanding prevents moisture from seeping in, thereby increasing the board's durability.
Whether you are building furniture, cabinets, or shelving units, adding an edge band can turn a simple piece of plywood into a visually appealing product.

To effectively edgeband plywood, you will need several materials and tools. Below is a list of the key items:
Edge Banding Tape: Available in materials like veneer, melamine, PVC, or ABS.
Here is a table summarizing the tools and their functions:
Tool Function Edge Banding Tape Covers exposed plywood edges. Glue Bonds the edge banding to plywood. Edge Trimmer Removes excess edge band material. Iron/Machine Heats adhesive to attach edge banding. Sandpaper Smooths out the edges for a neat finish.
Edgebanding plywood is a straightforward process if you have the right tools and a bit of patience. Below, we outline the steps for a manual edgebanding method, which can be used at home or in a small workshop.
Before applying the edge banding, it’s important to prepare the plywood edge. Ensure that the edge is clean, flat, and smooth. Any rough spots or uneven surfaces will prevent the banding from adhering properly.
Sand the Edge: Start by lightly sanding the edge to remove any rough spots.
Proper preparation is crucial as it ensures that the edge banding adheres well and creates a clean finish.
The next step is to measure the length of the plywood edge that needs to be covered.
Measure Accurately: Make sure the edge banding tape is at least 1 inch longer than the plywood edge.
Cutting a bit longer than the required length will ensure you have some overhang to work with, which will be trimmed later.
If you’re using edge banding tape with pre-applied adhesive, a household iron can do the trick. Here’s how to go about it:
Set the Iron to Medium Heat: Make sure the iron is hot enough to activate the adhesive, but not too hot that it burns the tape.
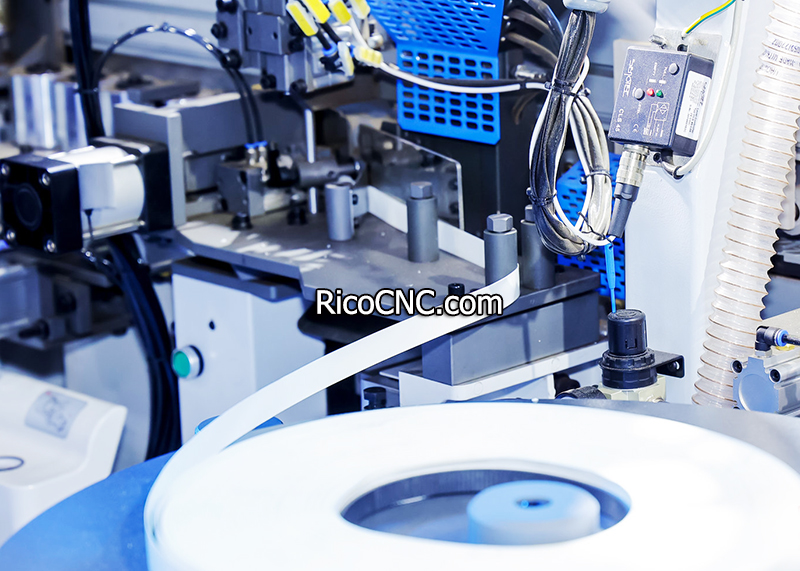
For larger projects, an automatic edge banding machine is recommended. This machine will handle the application, heating, pressing, and trimming, making the process fast and efficient.
Automatic edge banding machines are ideal if you are working with high volumes and need consistent quality.
Once the edge banding has been applied, there will likely be some overhang on the top and bottom edges.
Use an Edge Trimmer: Carefully trim off the excess edge banding material to make it flush with the plywood surface.
Trimming is a critical step to achieve a professional finish, so take your time to ensure it’s done correctly.
The final step in edgebanding plywood is to inspect your work and make any final adjustments.
Inspect the Edges: Look for any gaps or areas where the edge banding did not adhere properly.
A well-done edgebanding job will transform a simple piece of plywood into a finished product that looks sleek and professional.

Here are some useful tips to help you achieve the best possible finish when edgebanding plywood:
Use High-Quality Edge Banding Tape: The quality of the edge banding tape will directly affect the finished product. Always opt for high-quality tape for a more professional look.
Edgebanding plywood is essential for a variety of reasons, beyond just improving the look of the board. Here are some benefits:
Applying an edge band makes plywood more durable. The edge is protected from chipping, moisture, and other potential damages, which prolongs the lifespan of the product.
The exposed edges of plywood can make a product look unfinished. Edge banding provides a clean and polished appearance, making the product more visually appealing.
Edge banding comes in a variety of materials, colors, and textures, allowing for more flexibility in design. Whether you want a natural wood look or something more modern, there is an edge banding option available to match.
Edgebanding is a cost-effective way to give plywood a high-end look without the cost of using solid wood. This is particularly useful in furniture manufacturing and cabinet making, where budget constraints often play a significant role.
When choosing edge banding for plywood, it's important to select a material that suits the specific needs of your project. Below are some common options:
PVC Edge Banding: This is a popular choice due to its affordability and durability. It’s available in many colors and is resistant to moisture.
What is the best type of glue for edgebanding plywood?
Most edge banding tapes come with pre-applied hot melt adhesive. However, for extra durability, you can use PUR glue, which offers excellent resistance to moisture and heat.
Can I edgeband curved edges of plywood?
Yes, you can. However, curved edges can be more challenging to edgeband. A flexible edge banding tape and a steady hand are essential for these applications.
How do I prevent air bubbles during edgebanding?
Press down firmly while applying the edge band and use a roller or a wood block to smooth out the tape as you go along. This will help eliminate air bubbles.
Do I need to sand the edges after applying the edge banding?
Yes, sanding the edges lightly after trimming ensures that they are smooth and flush with the plywood surface, giving it a professional finish.
Is edgebanding necessary for all plywood projects?
Not necessarily. If the edge will not be visible or subjected to wear and tear, you may choose to skip edgebanding. However, for furniture pieces or items where appearance matters, edgebanding is highly recommended.
Can I use a regular iron for edgebanding?
Yes, you can use a household iron to apply edge banding if it has pre-applied adhesive. Make sure to use moderate heat and work slowly.
Edgebanding plywood is a simple yet effective way to enhance the look, durability, and safety of your woodworking projects. Whether you’re working on cabinets, shelves, or any other piece of furniture, properly applying an edge band will make a significant difference in the finished product. By following the steps outlined in this guide and taking your time during the process, you can achieve a professional and polished finish every time.
If you’re considering upgrading your woodworking tools or want to learn more about the best edgebanding practices, contact us today for more information. We’re here to help you make the most out of your woodworking projects.

Contact: RicoCNC
Phone: 0086-13390848665
E-mail: cncsale@ricocnc.com
Whatsapp:0086-15264185266
Add: NO. 60, Weixin Road, Industrial Park, Suzhou, Jiangsu, China, 215000
We chat
