Are you tired of looking at the rough, unsightly edges of your plywood projects? Plywood edge banding is the secret weapon that can transform your woodworking from amateur to professional in no time. In this comprehensive guide, we'll explore everything you need to know about edge banding for plywood, from its purpose to application techniques. Whether you're a DIY enthusiast or a seasoned woodworker, this article will equip you with the knowledge to elevate your plywood projects to the next level.
Edge banding is a thin strip of material, typically made of wood veneer, PVC, or melamine, that's applied to the exposed edges of plywood sheets. But why is it so crucial in woodworking?Edge banding serves several important purposes:
1.It conceals the layered structure of plywood, giving a more finished appearance.
2.It protects the edges from damage and moisture, extending the life of your project.
3.It provides a seamless look that matches or complements the plywood surface.
Without edge banding, your plywood projects may look unfinished and be more susceptible to damage. By mastering this technique, you'll elevate the quality and durability of your woodworking creations.
When it comes to edge banding for plywood, you have several options to choose from. Each type has its own unique characteristics and applications:
1.Wood Veneer Edge Banding: Made from thin slices of real wood, this type offers a natural look and feel that's perfect for high-end furniture projects.
2.PVC Edge Banding: A durable and water-resistant option, ideal for kitchen cabinets and bathroom vanities.
3.Melamine Edge Banding: Matches melamine-coated particleboard and is easy to apply, making it great for quick DIY projects.
4.ABS Edge Banding: Known for its impact resistance and color stability, it's often used in commercial furniture.
The choice of edge banding material depends on your project requirements, budget, and desired aesthetic. Consider factors such as the plywood type, environmental conditions, and the overall design of your piece when selecting the appropriate edge banding.
Accurate measurement and cutting are crucial for a professional-looking edge banding application on plywood. Here's how to get it right:
1.Measure the length of the plywood edge you need to cover, adding an extra inch for trimming.
2.Use a sharp utility knife or specialized edge banding trimmer to cut the banding to size.
3.For curved plywood edges, measure the circumference and add a little extra to ensure full coverage.
Remember, it's always better to cut the edge banding slightly longer than needed. You can easily trim excess material later, but you can't add length if you cut it too short.

Having the right tools can make the edge banding process for plywood much smoother. Here's a list of essential tools:
-Iron or edge banding machine
-Trimmer or sharp utility knife
-Edge banding scraper
-Sanding block or fine-grit sandpaper
-Clean, lint-free cloth
-Adhesive (if using non-pre-glued banding)
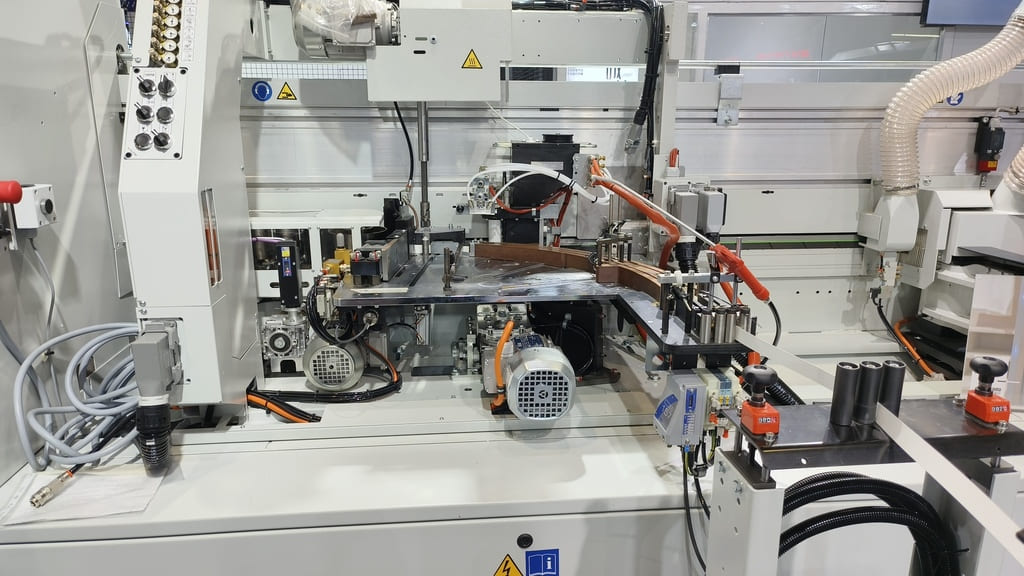
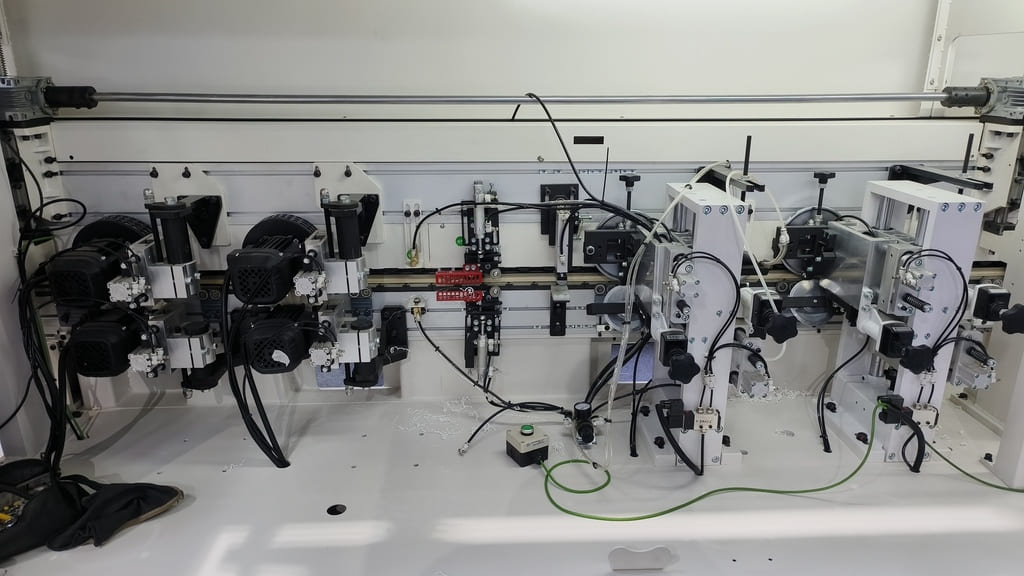
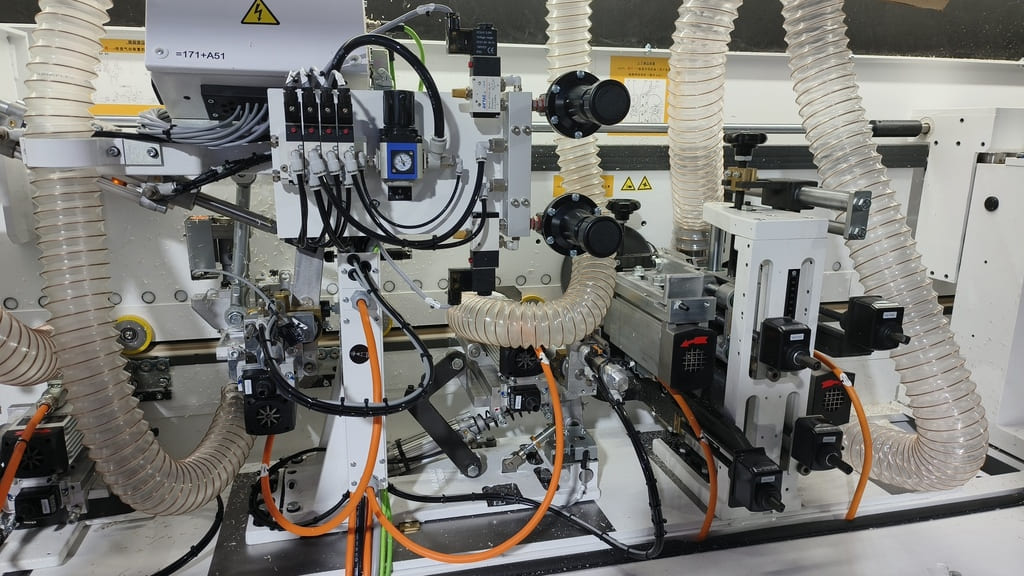
For those who frequently work with plywood edge banding, investing in an edge bander machine can significantly speed up the process and improve consistency.
Proper surface preparation is key to achieving a strong bond and smooth finish when applying edge banding to plywood. Follow these steps:
1.Ensure the plywood edge is clean, dry, and free from dust or debris.
2.Sand the edge lightly to create a slightly rough surface for better adhesion.
3.Wipe the edge with a tack cloth to remove any remaining particles.
Taking the time to properly prepare the plywood surface will pay off in the long run, resulting in a more durable and professional-looking edge banding application.
Iron-on edge banding is a popular choice for its ease of use, especially for DIY plywood projects. Here's a step-by-step guide:
1.Set your iron to the appropriate temperature (usually medium-high).
2.Position the edge banding on the plywood edge, ensuring it slightly overhangs on all sides.
3.Starting at one end, slowly move the iron along the banding, applying even pressure.
4.Continue ironing until the entire length is adhered to the plywood.
5.Allow the banding to cool before trimming.
Remember to keep the iron moving to prevent scorching or overheating the adhesive. For larger plywood projects, you might consider using an edge banding machine for more consistent results.
After applying the edge banding to your plywood, proper trimming and finishing are essential for a professional look:
1.Use an edge banding trimmer or sharp utility knife to remove excess material from the sides.
2.For the ends, use a flush-trim router bit or carefully trim with a knife.
3.Sand the edges lightly to smooth any rough spots on the plywood.
4.Use an edge scraper to achieve a perfectly flush surface between the banding and plywood.
Take your time during this step to ensure a seamless transition between the edge banding and the surface of your plywood material.
Even experienced woodworkers can make mistakes when applying edge banding to plywood. Here are some common pitfalls to watch out for:
-Applying too much heat, which can damage the banding or plywood substrate
-Not allowing enough cooling time before trimming
-Rushing the trimming process, resulting in uneven edges
-Neglecting to sand or finish the edges properly
-Choosing the wrong type of edge banding for your plywood project
By being aware of these potential issues, you can take steps to avoid them and achieve better results in your plywood edge banding projects.

Proper maintenance can extend the life of your edge banded plywood projects:
-Clean regularly with a damp cloth and mild soap
-Avoid exposing edge banded surfaces to excessive moisture or heat
-Address any lifting or peeling edges promptly to prevent further damage
For minor repairs on plywood edge banding:
1.Gently lift the loose edge
2.Apply a small amount of contact cement
3.Press firmly and allow to dry
For more extensive damage, it may be necessary to remove and replace the affected section of edge banding on your plywood piece.
As you become more comfortable with basic edge banding on plywood, you might want to explore some advanced techniques:
1.Wrapping curved plywood edges
2.Creating inlays with contrasting edge banding
3.Using multiple layers of edge banding for a unique look
4.Applying edge banding to irregularly shaped plywood pieces
These techniques can add a distinctive touch to your plywood woodworking projects and showcase your skills as a craftsperson.

Edge banding is more than just a functional element; it can significantly enhance the aesthetics of your plywood woodworking:
-Create a cohesive look by matching edge banding to the plywood surface material
-Use contrasting edge banding for a bold, modern design on plywood furniture
-Experiment with textured or patterned edge banding for added visual interest
-Combine different widths of edge banding for a layered effect on plywood shelving
By thoughtfully incorporating edge banding into your plywood design, you can elevate simple projects into stunning pieces of craftsmanship.In conclusion, mastering the art of edge banding installation for plywood can dramatically improve the quality and appearance of your woodworking projects. Here are the key takeaways to remember:
-Choose the right type of edge banding for your plywood project
-Properly prepare the plywood surface before application
-Use the correct tools and techniques for application and trimming
-Take your time and pay attention to detail for professional results
-Maintain your edge banded plywood surfaces for longevity
-Explore advanced techniques to enhance your woodworking skills
With practice and patience, you'll soon be applying edge banding to plywood like a pro, transforming ordinary sheets into beautiful, finished pieces.
Contact: RicoCNC
Phone: 0086-13390848665
E-mail: cncsale@ricocnc.com
Whatsapp:0086-15264185266
Add: NO. 60, Weixin Road, Industrial Park, Suzhou, Jiangsu, China, 215000
We chat
